Installing the HelpShelf widget (Google Tag Manager)
![]() Updated
Updated
Adding HelpShelf to Google Tag Manager is pretty straight forward. Please note that this guide assumes that you have already added the Google Tag Manager code to your website.
First head to https://tagmanager.google.com/ and create a new account or select an existing one.
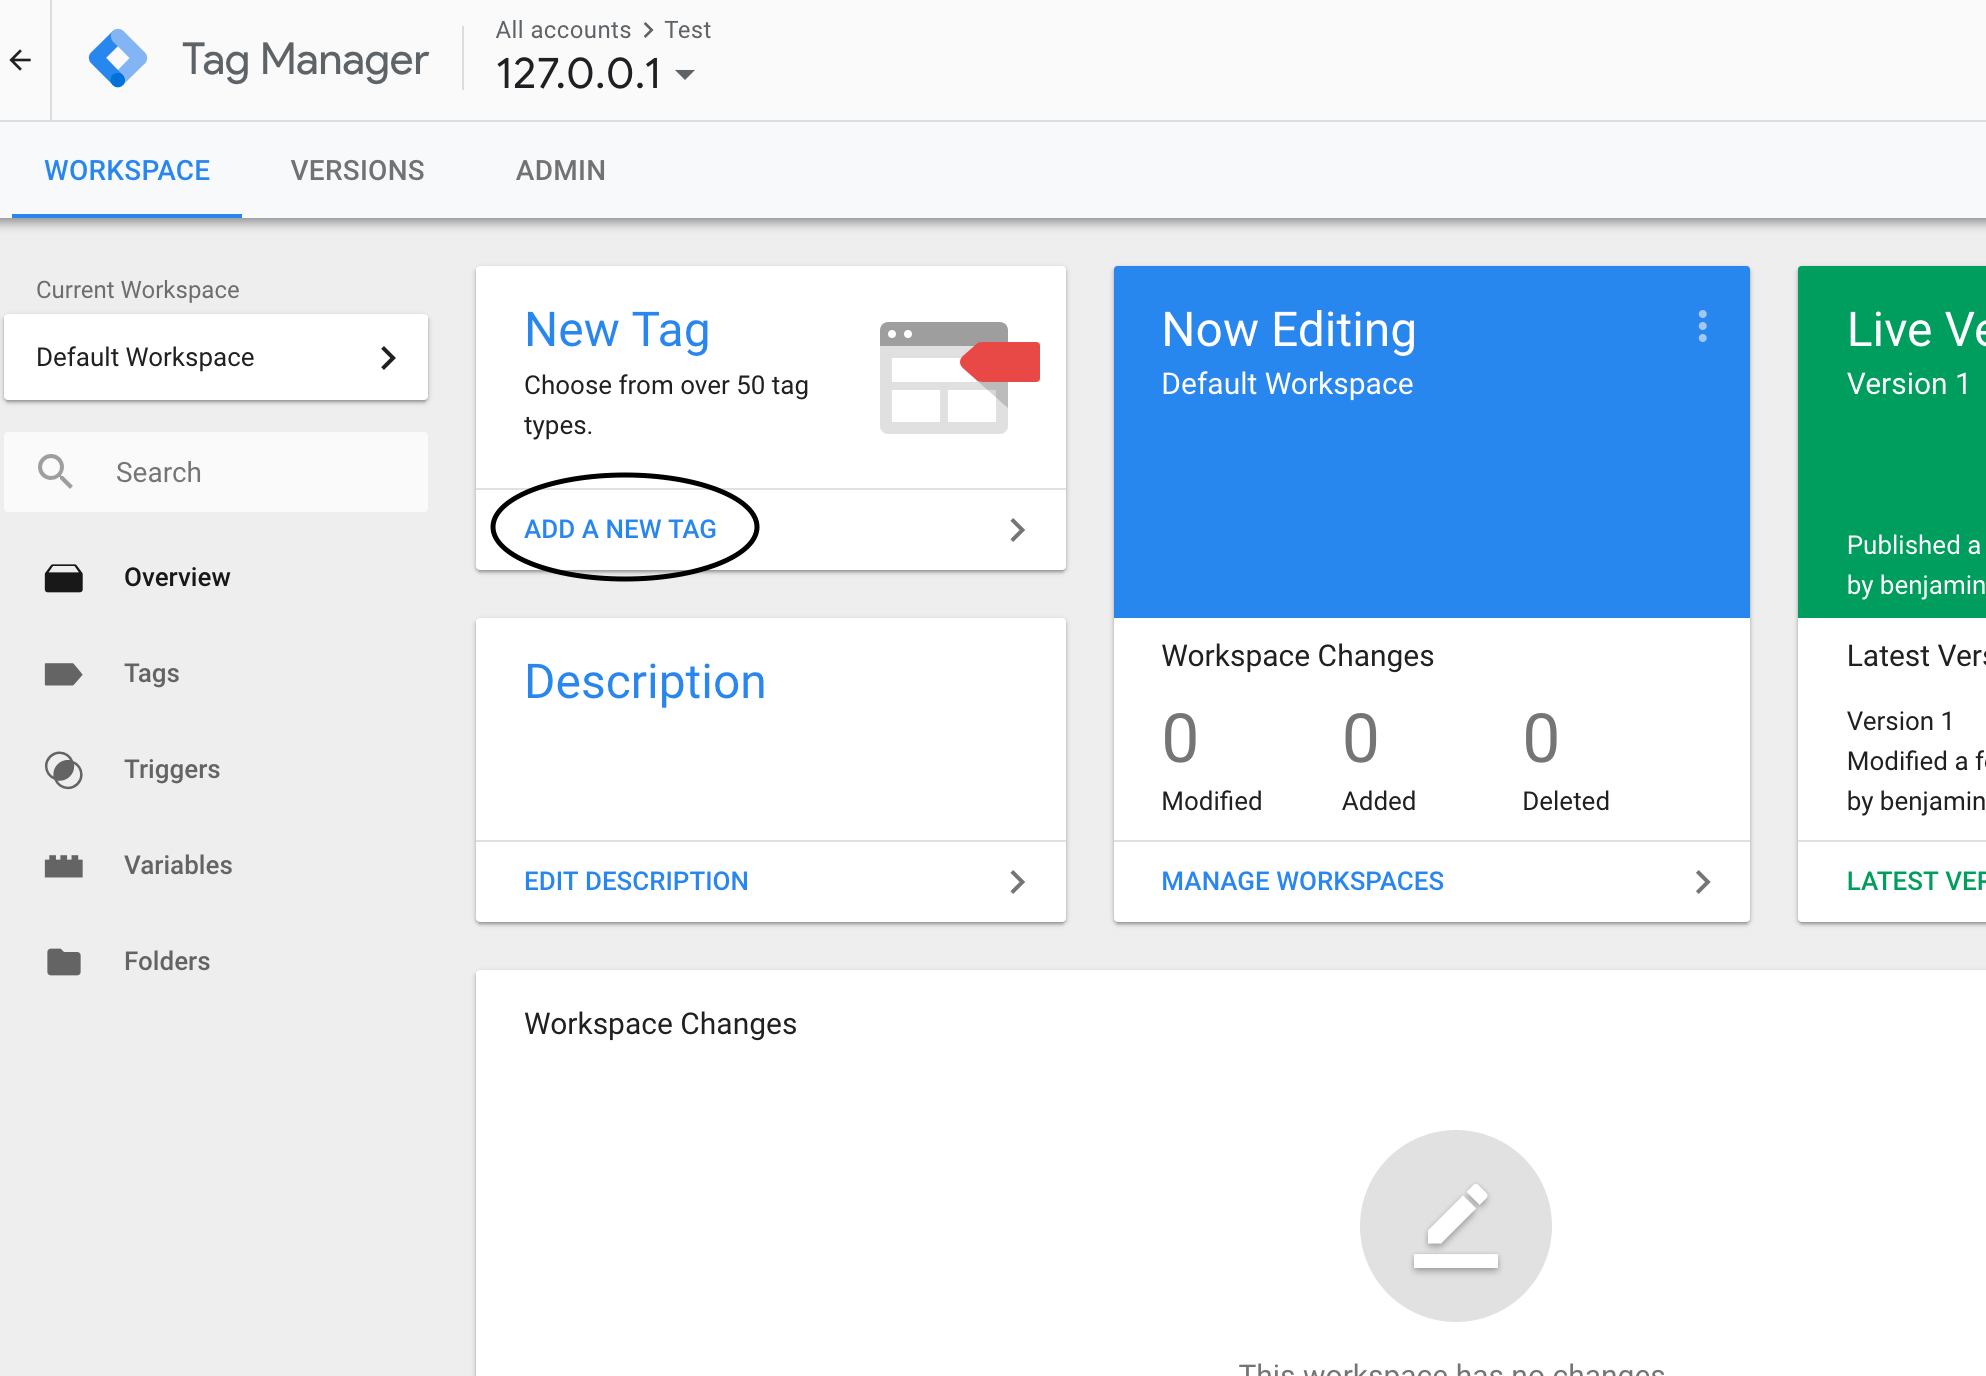
OK so now that we have chosen the account / container that we want to add the HelpShelf code to, we need to add a new tag.
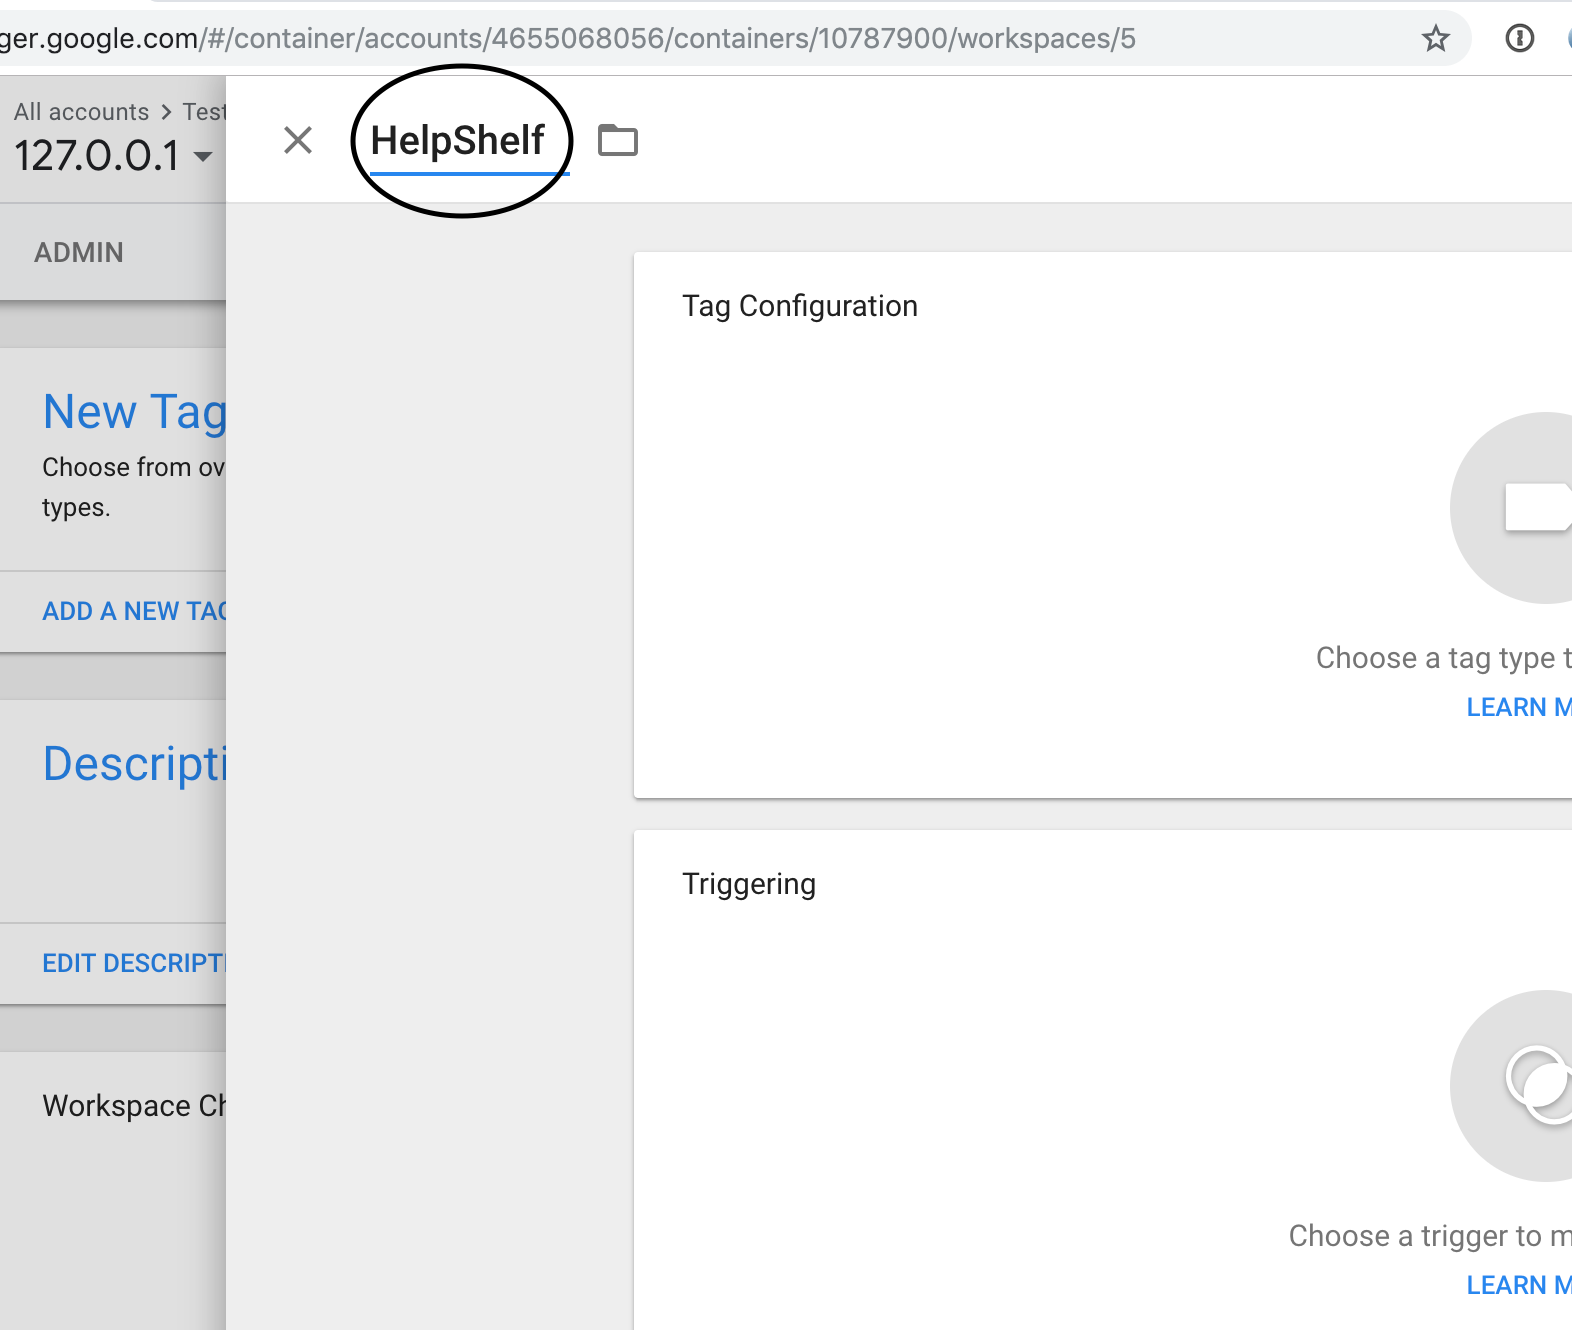
Next, give it a name like HelpShelf (for easy reference later on) by entering it into the area highlighted in the screenshot below.
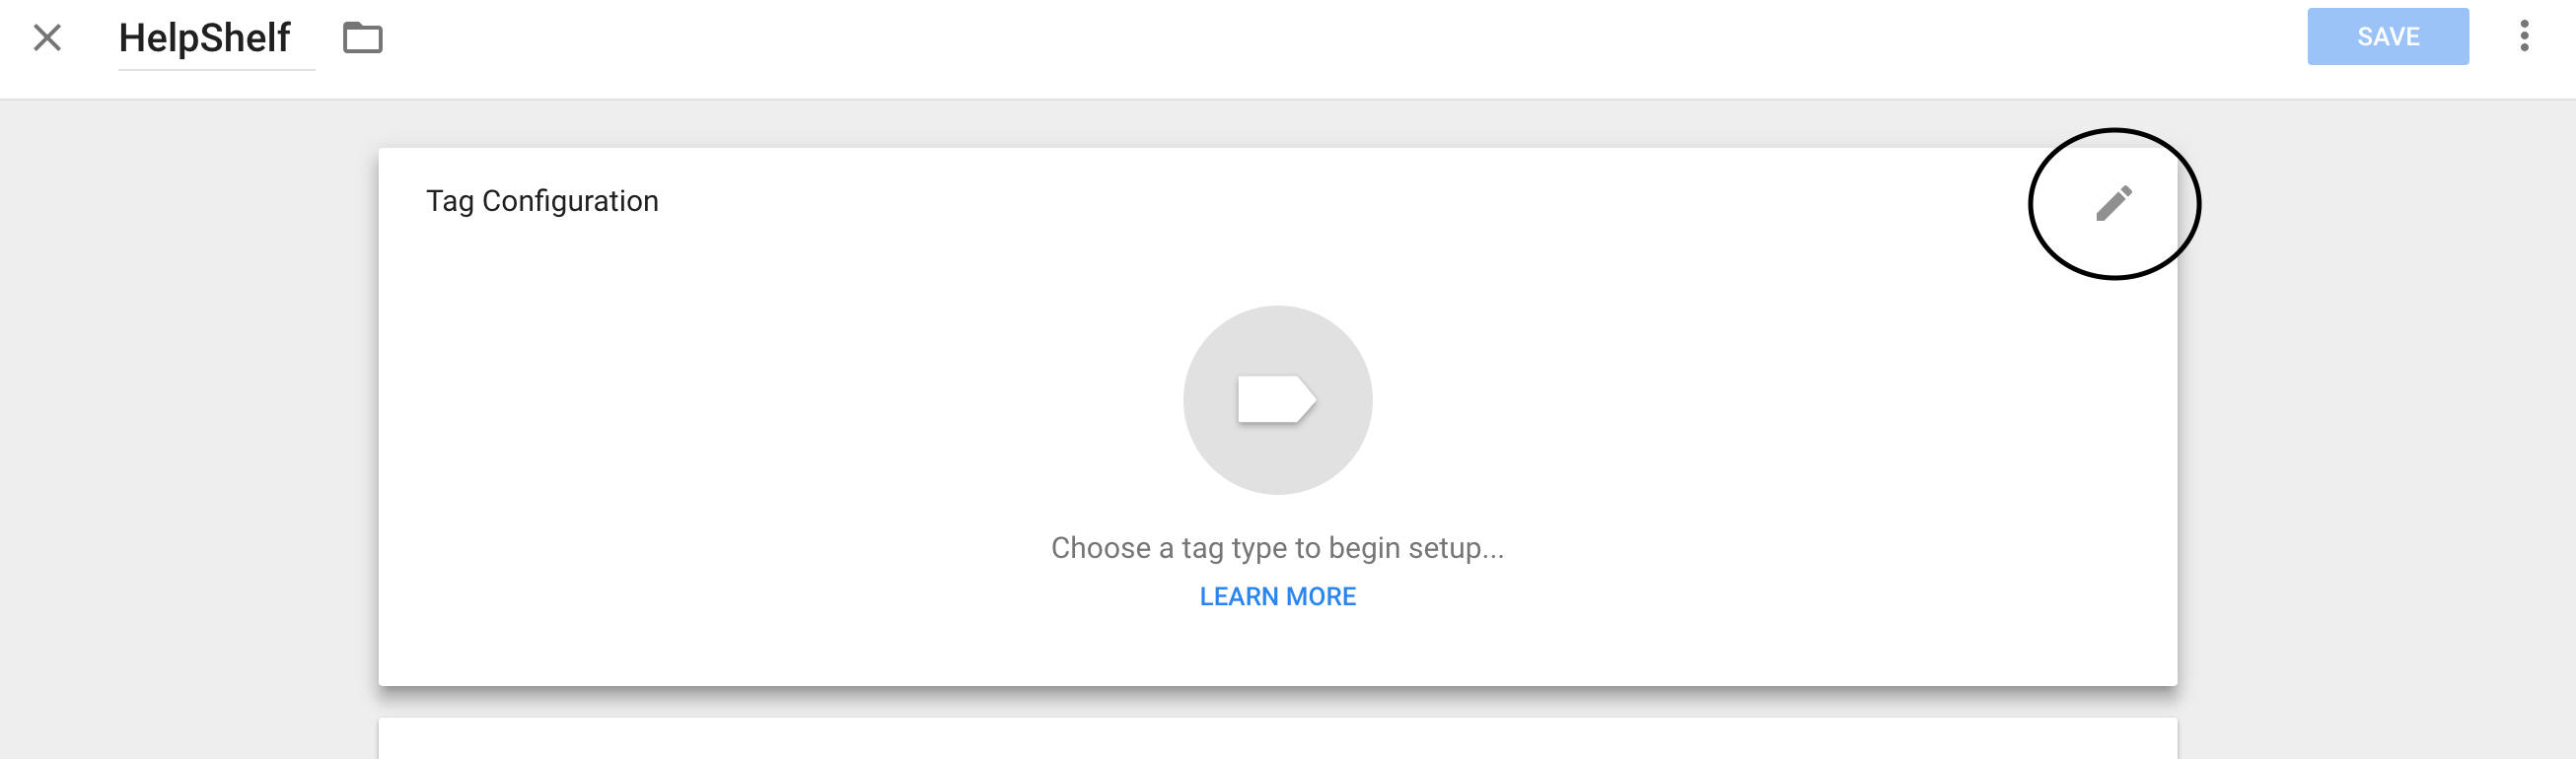
Now let’s choose the tag type. Do this by pressing the Pencil icon (as highlighted in the screenshot below). You need to hover over the box to reveal the pencil icon.
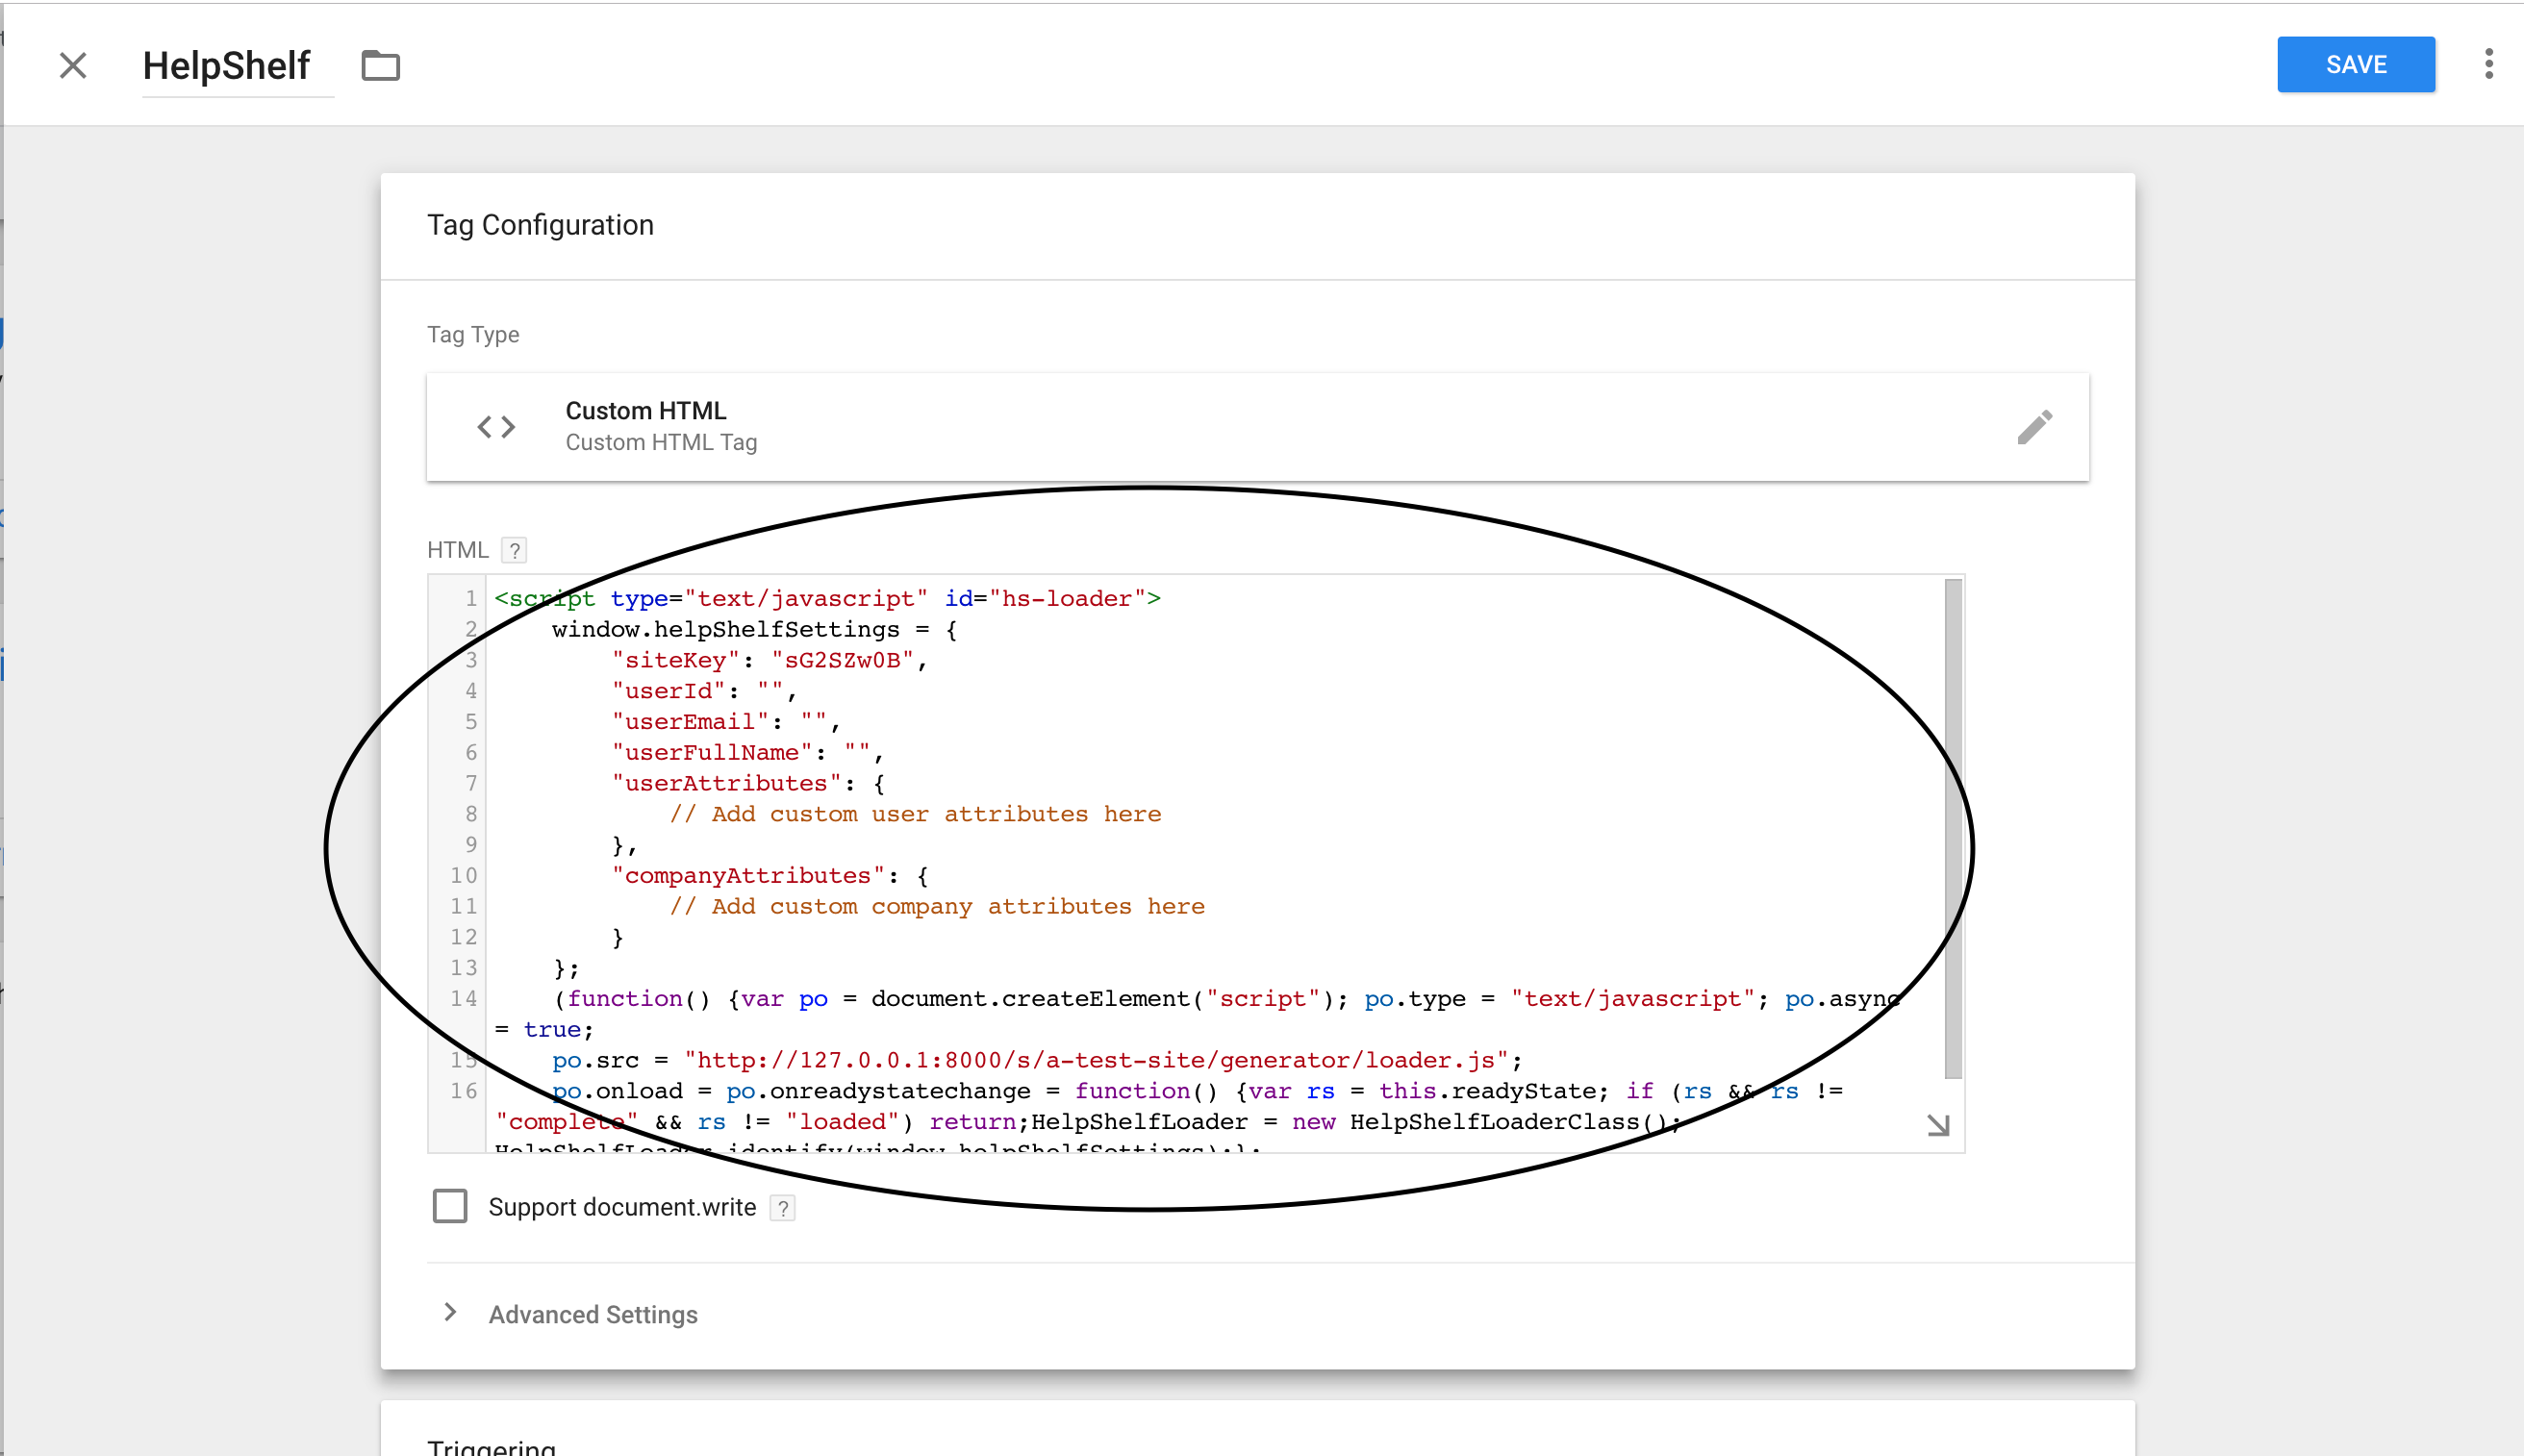
Scroll down to the Custom section and select Custom HTML.

Now the important part. We need to copy and paste the HelpShelf code into the HTML box (as seen below). The HelpShelf code is unique to your account so please make sure you have copied the correct one. To locate your code, login to HelpShelf and go to the Setup section. At the bottom of this page you’ll find your HelpShelf code.
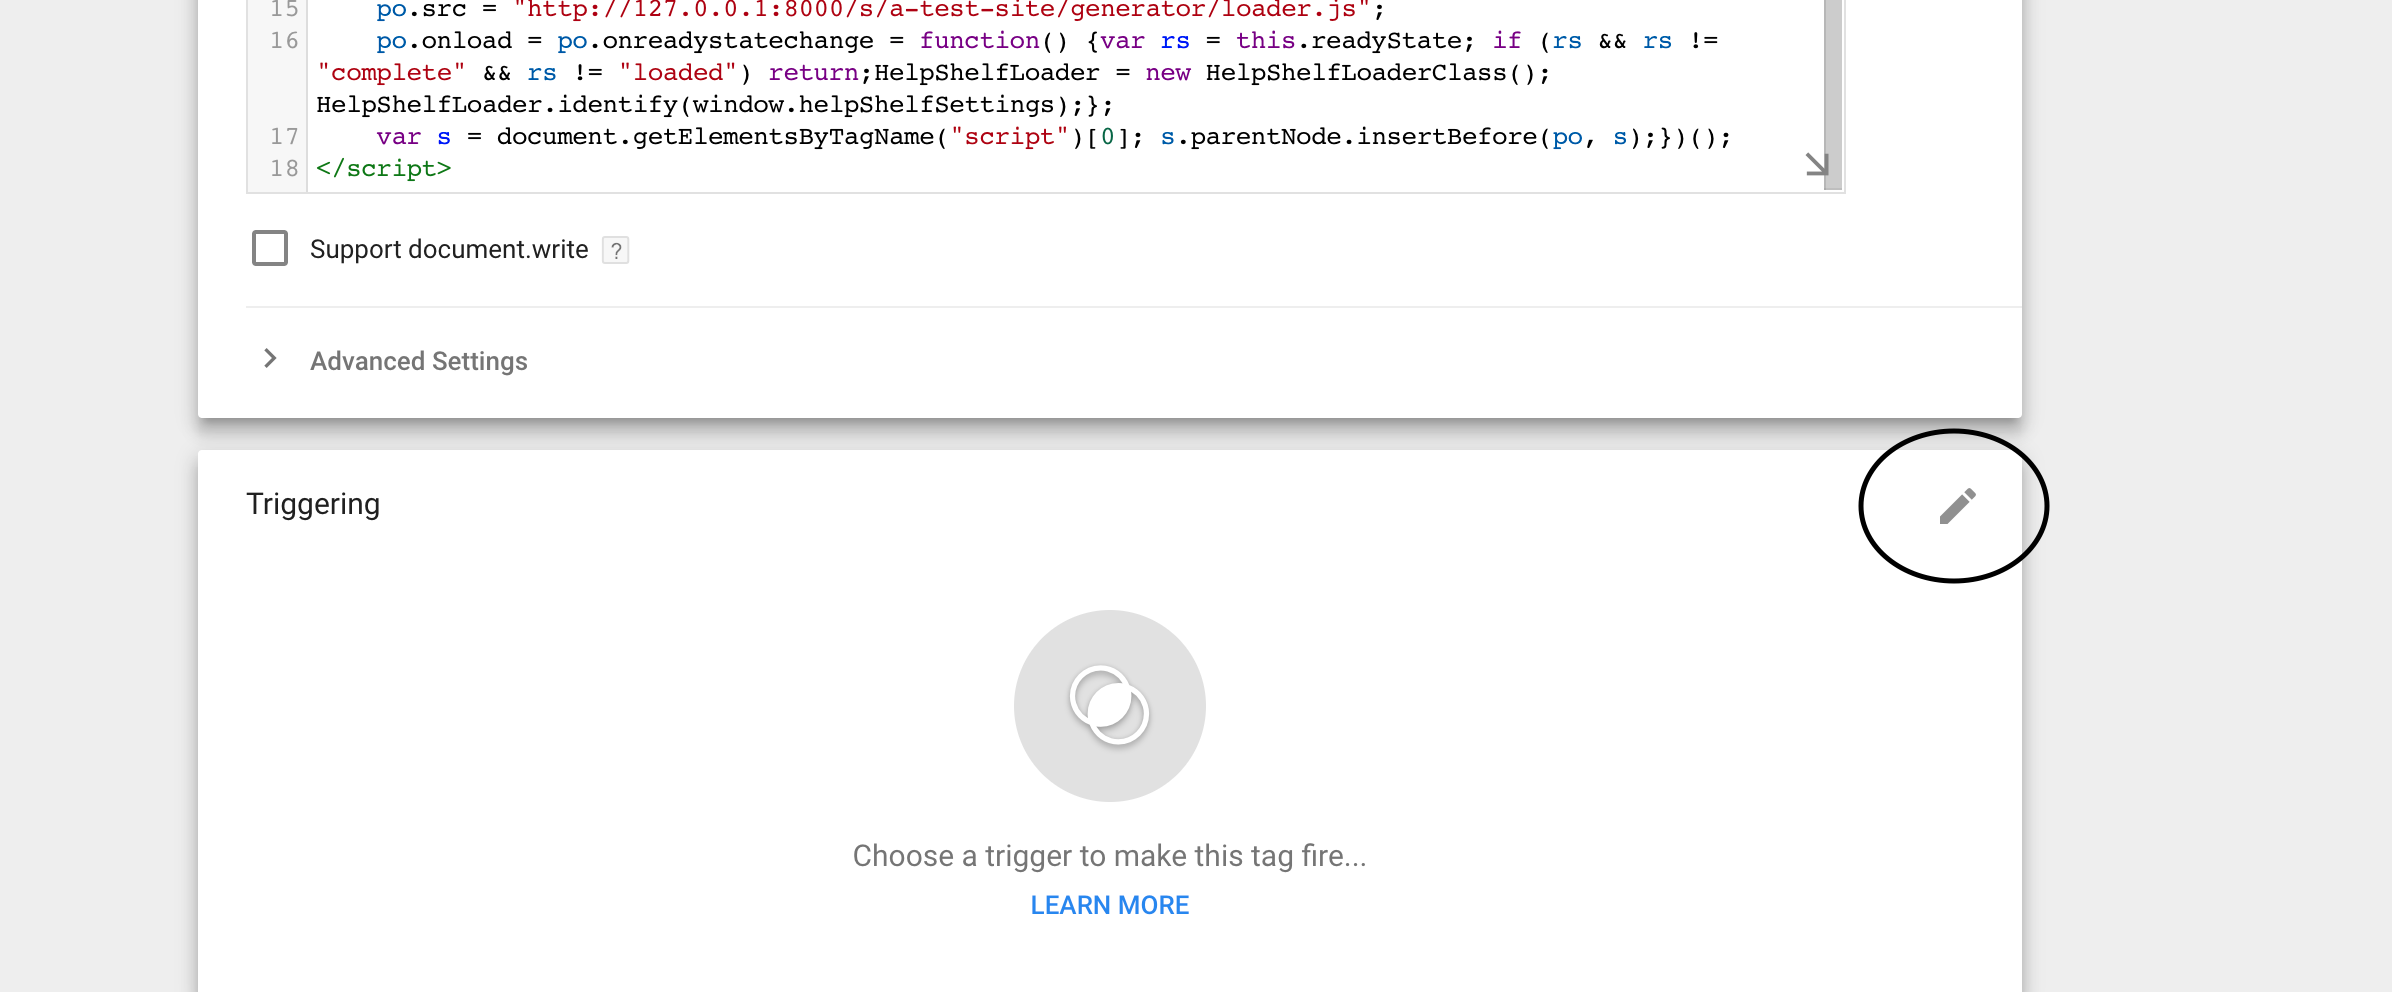
You do not need to change any of the advanced settings. Simply leave the default settings.
Next, we need to tell Google Tag Manager when to insert and trigger this code. In almost all cases, we want this to happen on every page within your site. But it’s possible you might want it to only fire on certain pages. If you are unsure, simply set it to fire on every page.
To do this, hover over the Triggering section to reveal the pencil icon (see screenshot below).
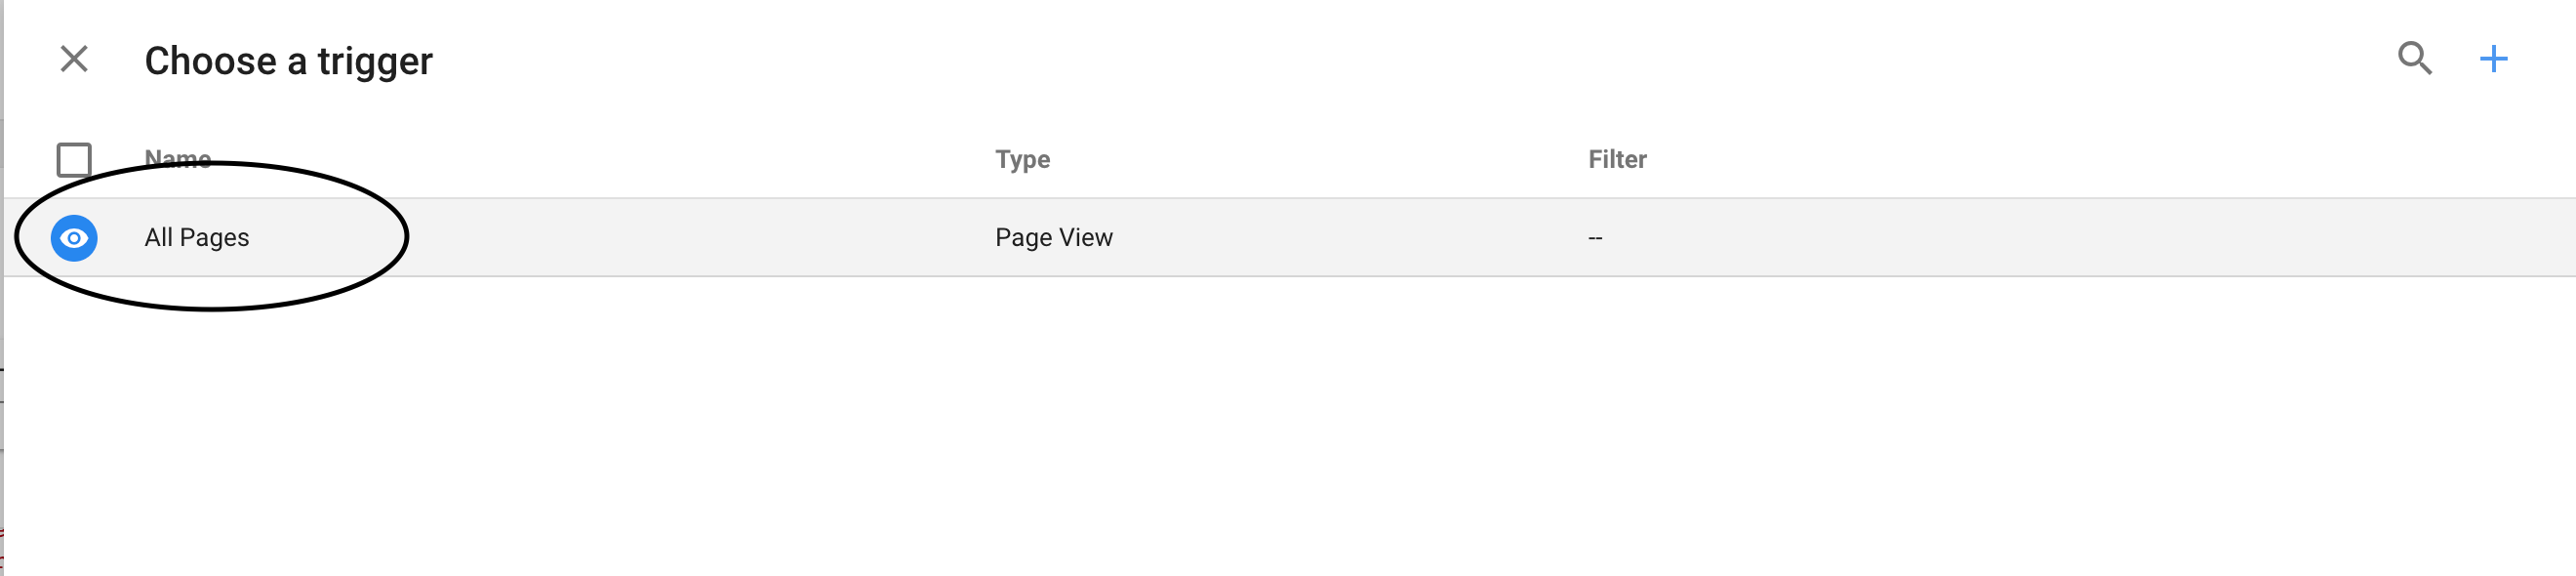
Click the pencil icon and a new window will appear titled Choose a trigger. As you can see in the screenshot below, by default the trigger all pages is listed. Simply click this row to select this option.
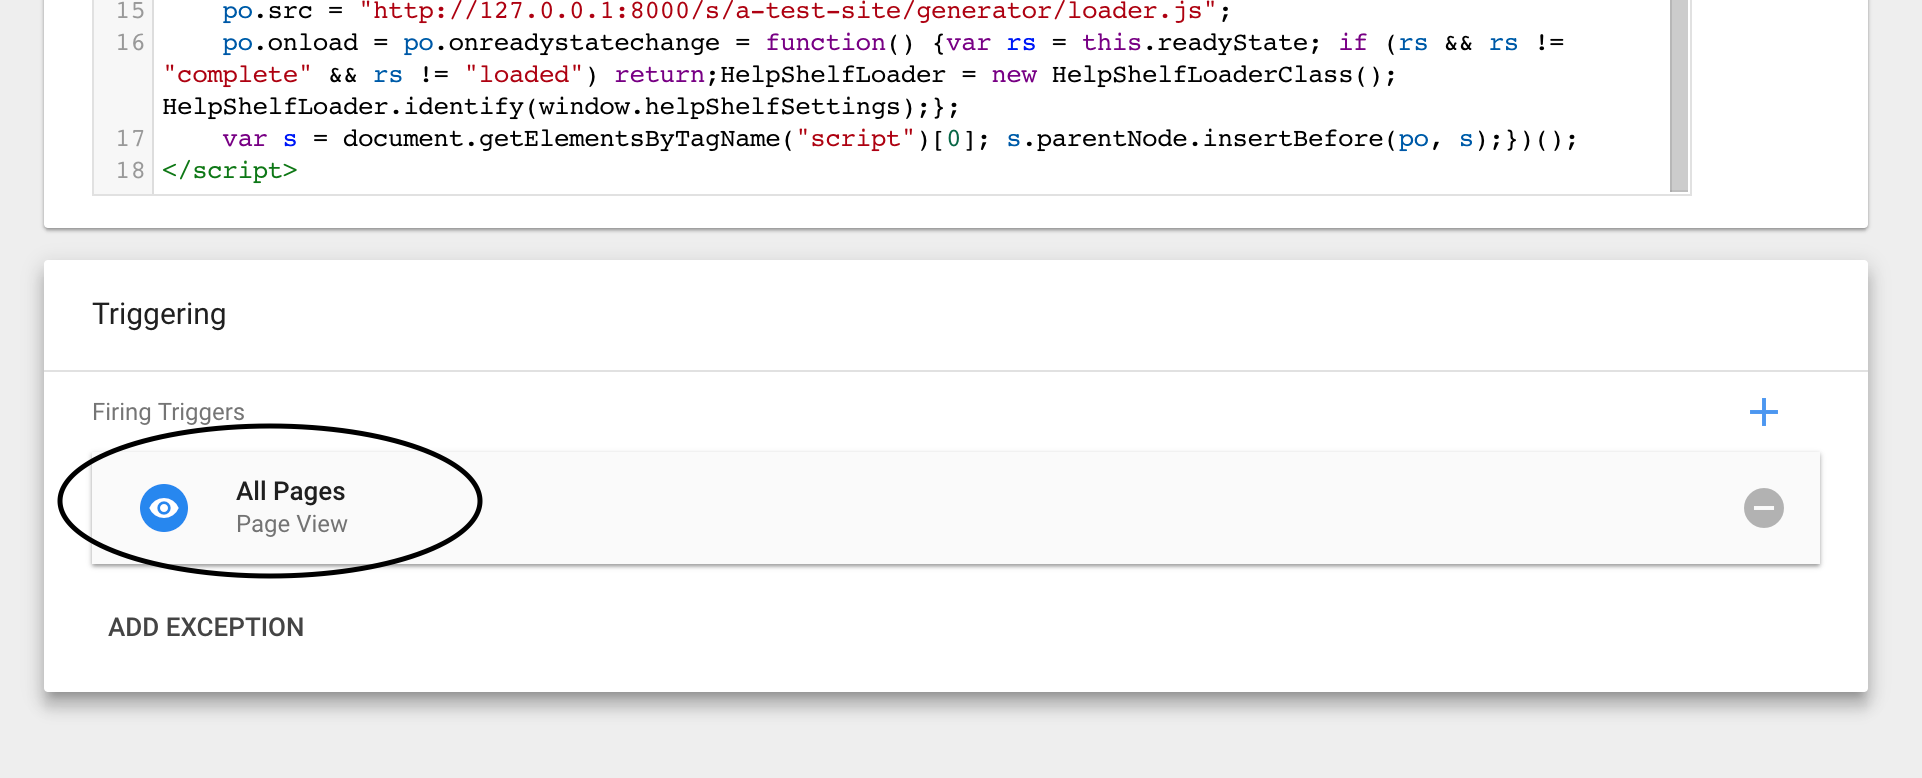
Once selected, the Choose a trigger window will close and you’ll see the recently selected All Pages trigger now showing in the Triggering list.
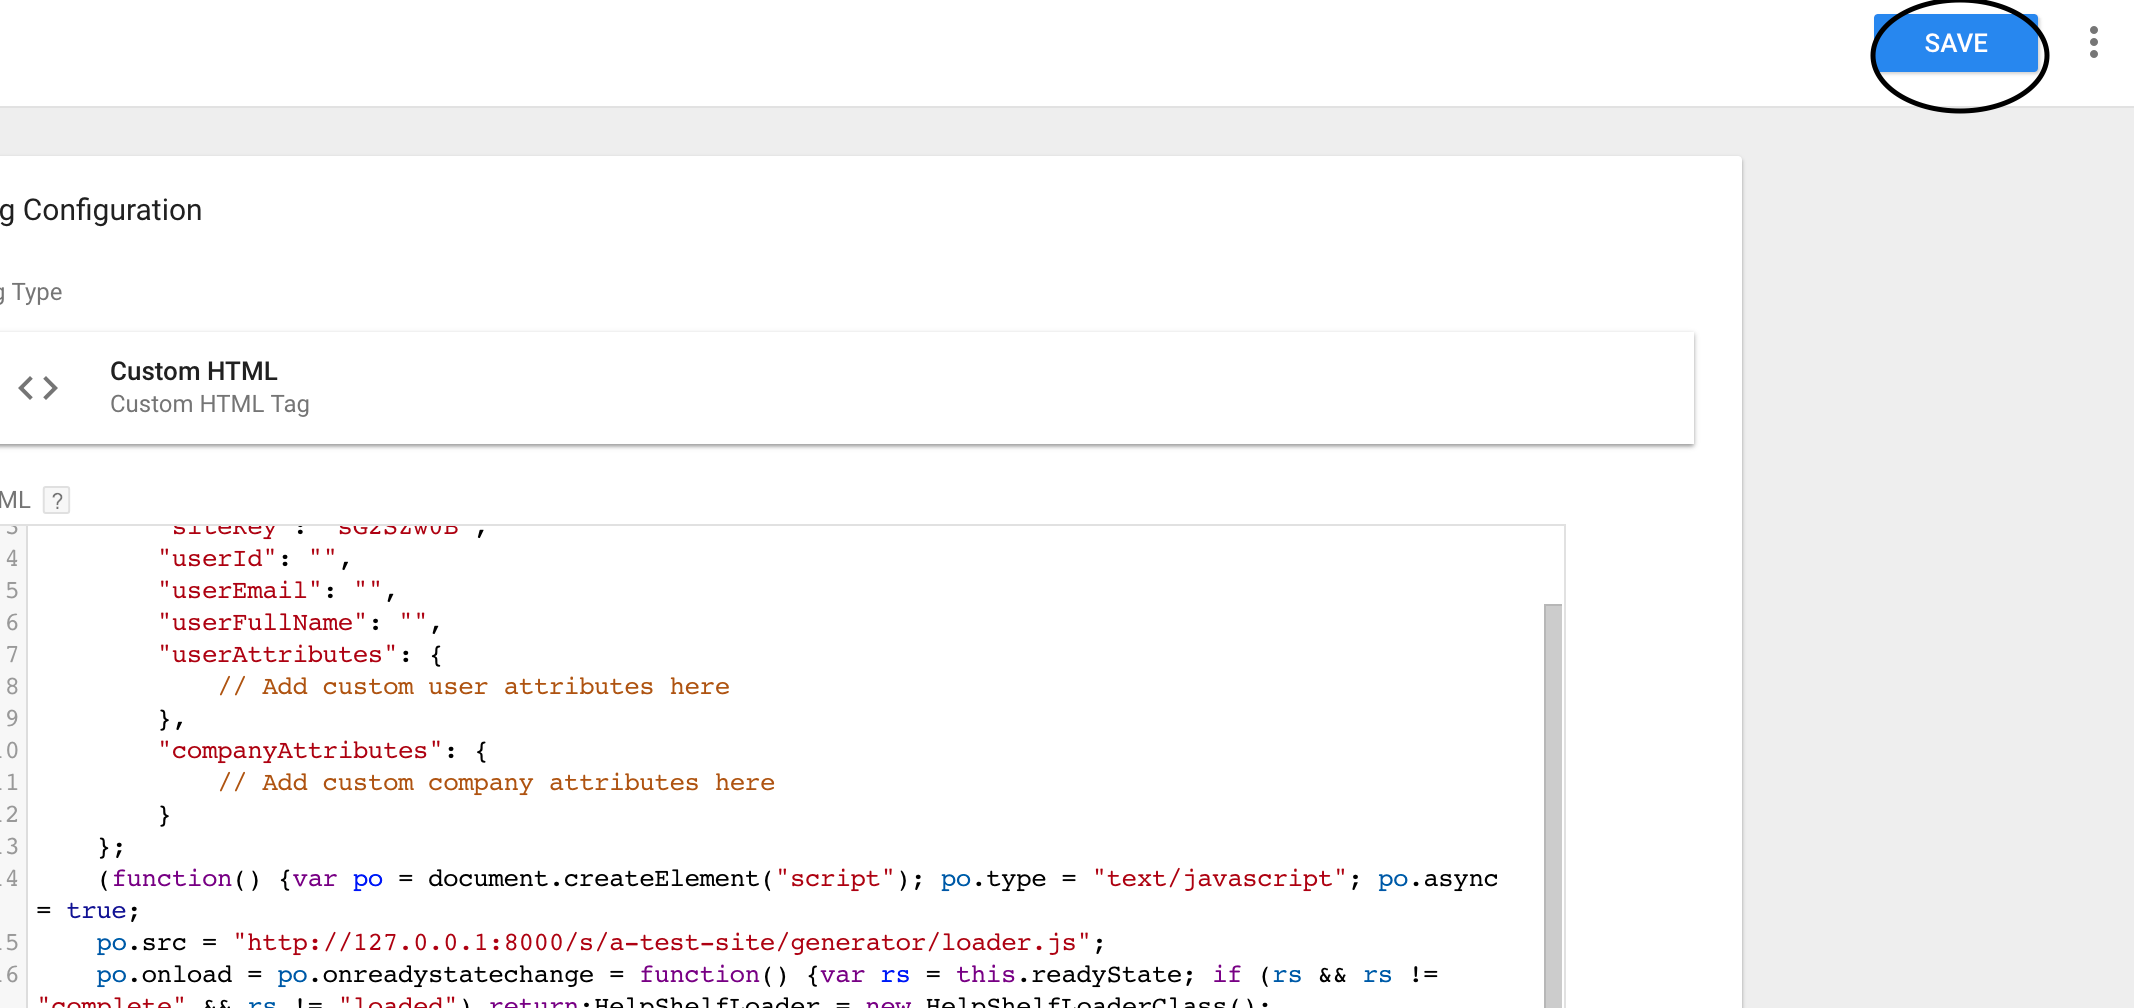
You do not need to add an exception. Simply press the Save button at the top right of the screen - as shown in the screenshot below.
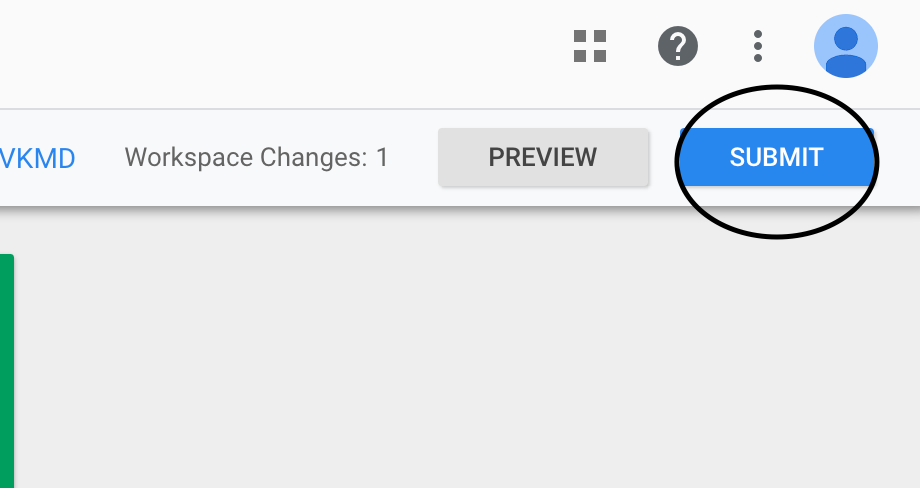
Your new tag has now been created. All that is left to do now is submit and publish the changes to your Google Tag Manager container. This is achieved by pressing the Submit button, which can be found at the top right of the screen.
Once published your HelpShelf widget should start displaying in your website (assuming you have added the Google Tag Manager script to it as per Google’s instructions.