Creating your first site
![]() Updated
Updated
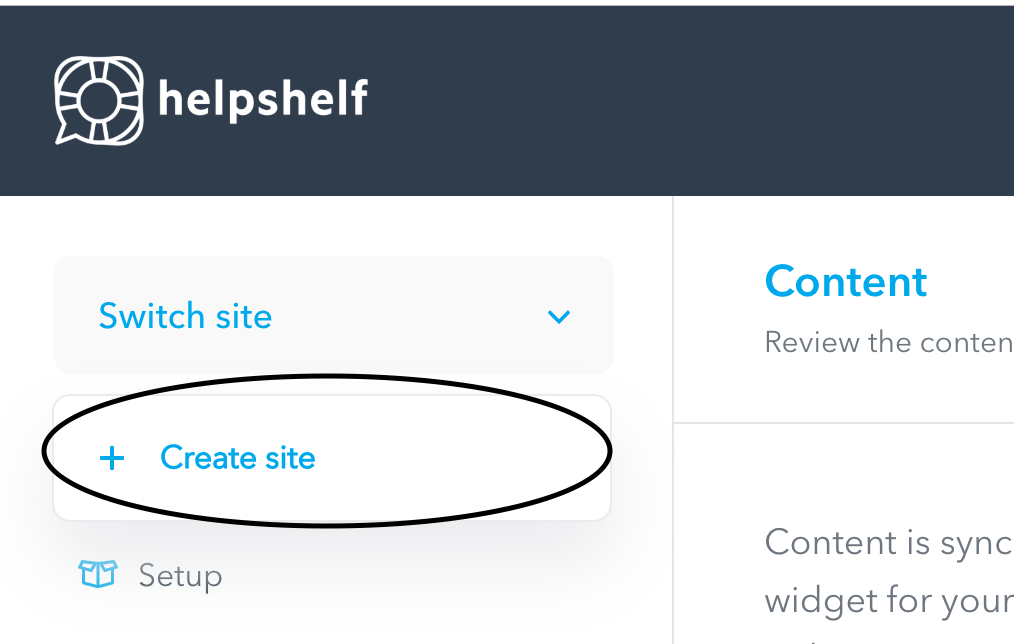
Linking HelpShelf to a new site is quick and easy. If you've just signed up, you should be asked to setup your first site. If not, you can add a new site by pressing the 'Create site' link in the site dropdown (see below).
Next, you'll be presented with a short form to enter the sites main details - simply enter the name, URL and an optional logo at this stage.
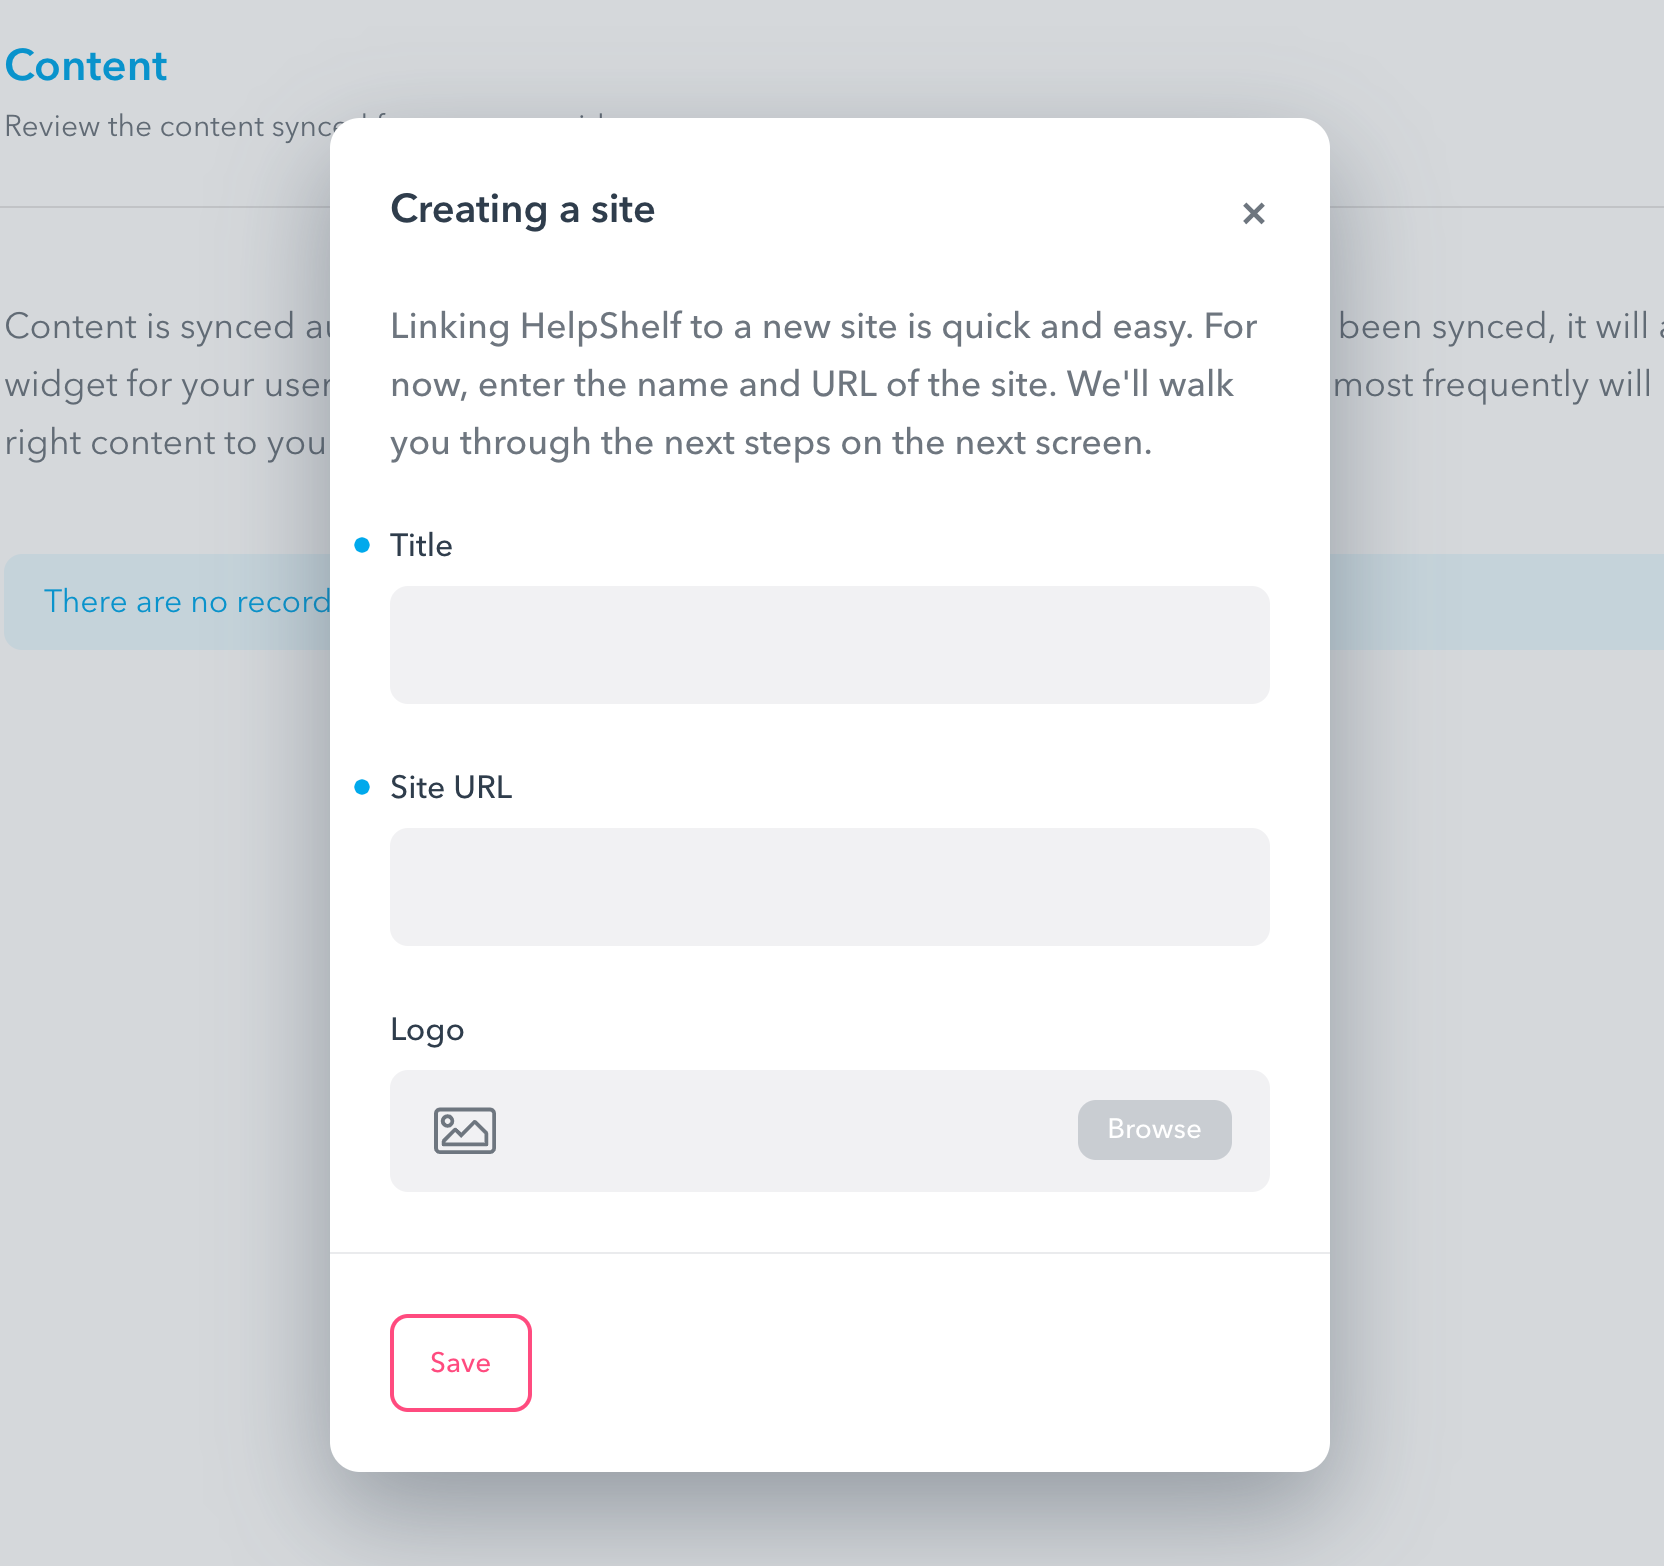
Once you've pressed Save, your site is created. Next, we need to setup some default settings for the new site - which essentially helps tell us how you want your HelpShelf widget to behave as well as how you want your users to interact with it.
Default site settings
After you've created your site, you will be sent to the Setup screen, where you'll be asked to configure a few things.
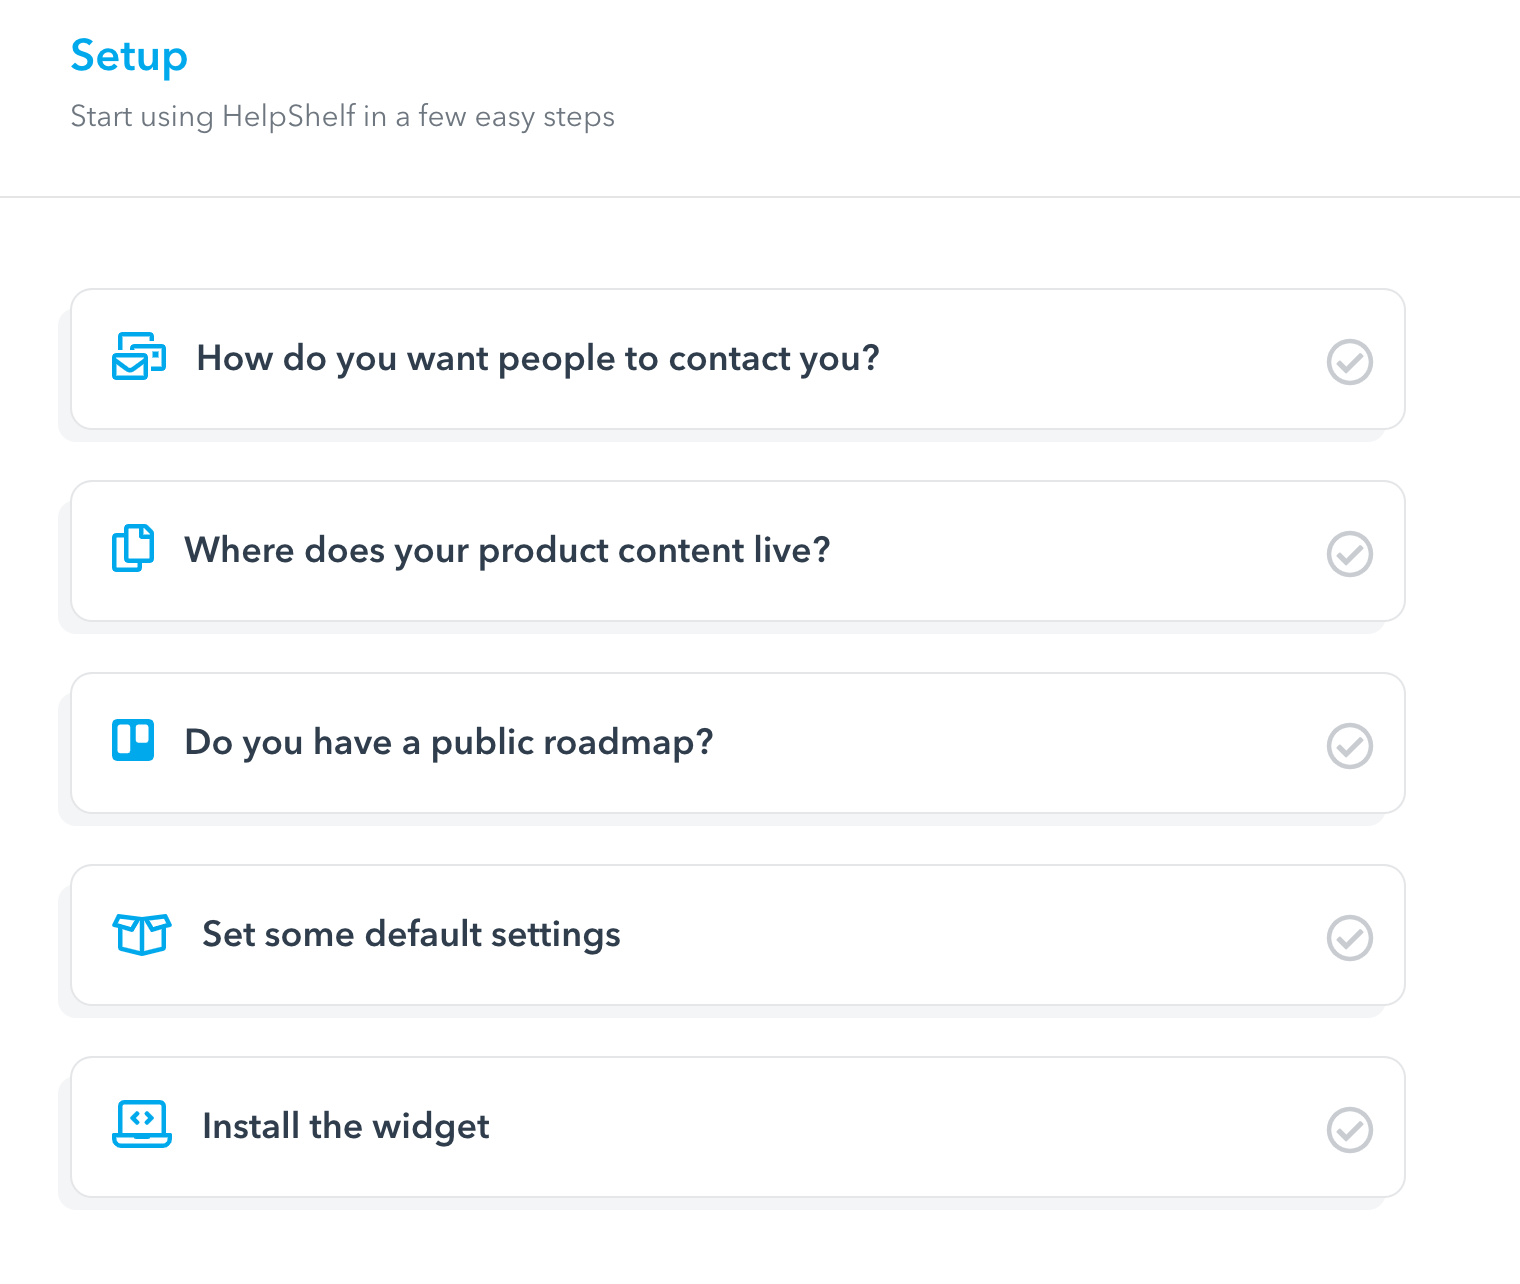
These steps are broken down into the following:
1. How do you want people to contact you?
There are numerous ways for your users to reach out to you when they need help (from Intercom style chats, Zendesk style tickets or just plain old email). There's no right or wrong answer here.
Choose your existing provider by pressing the Add Provider button. You'll then be presented with a list if available providers to chose from.
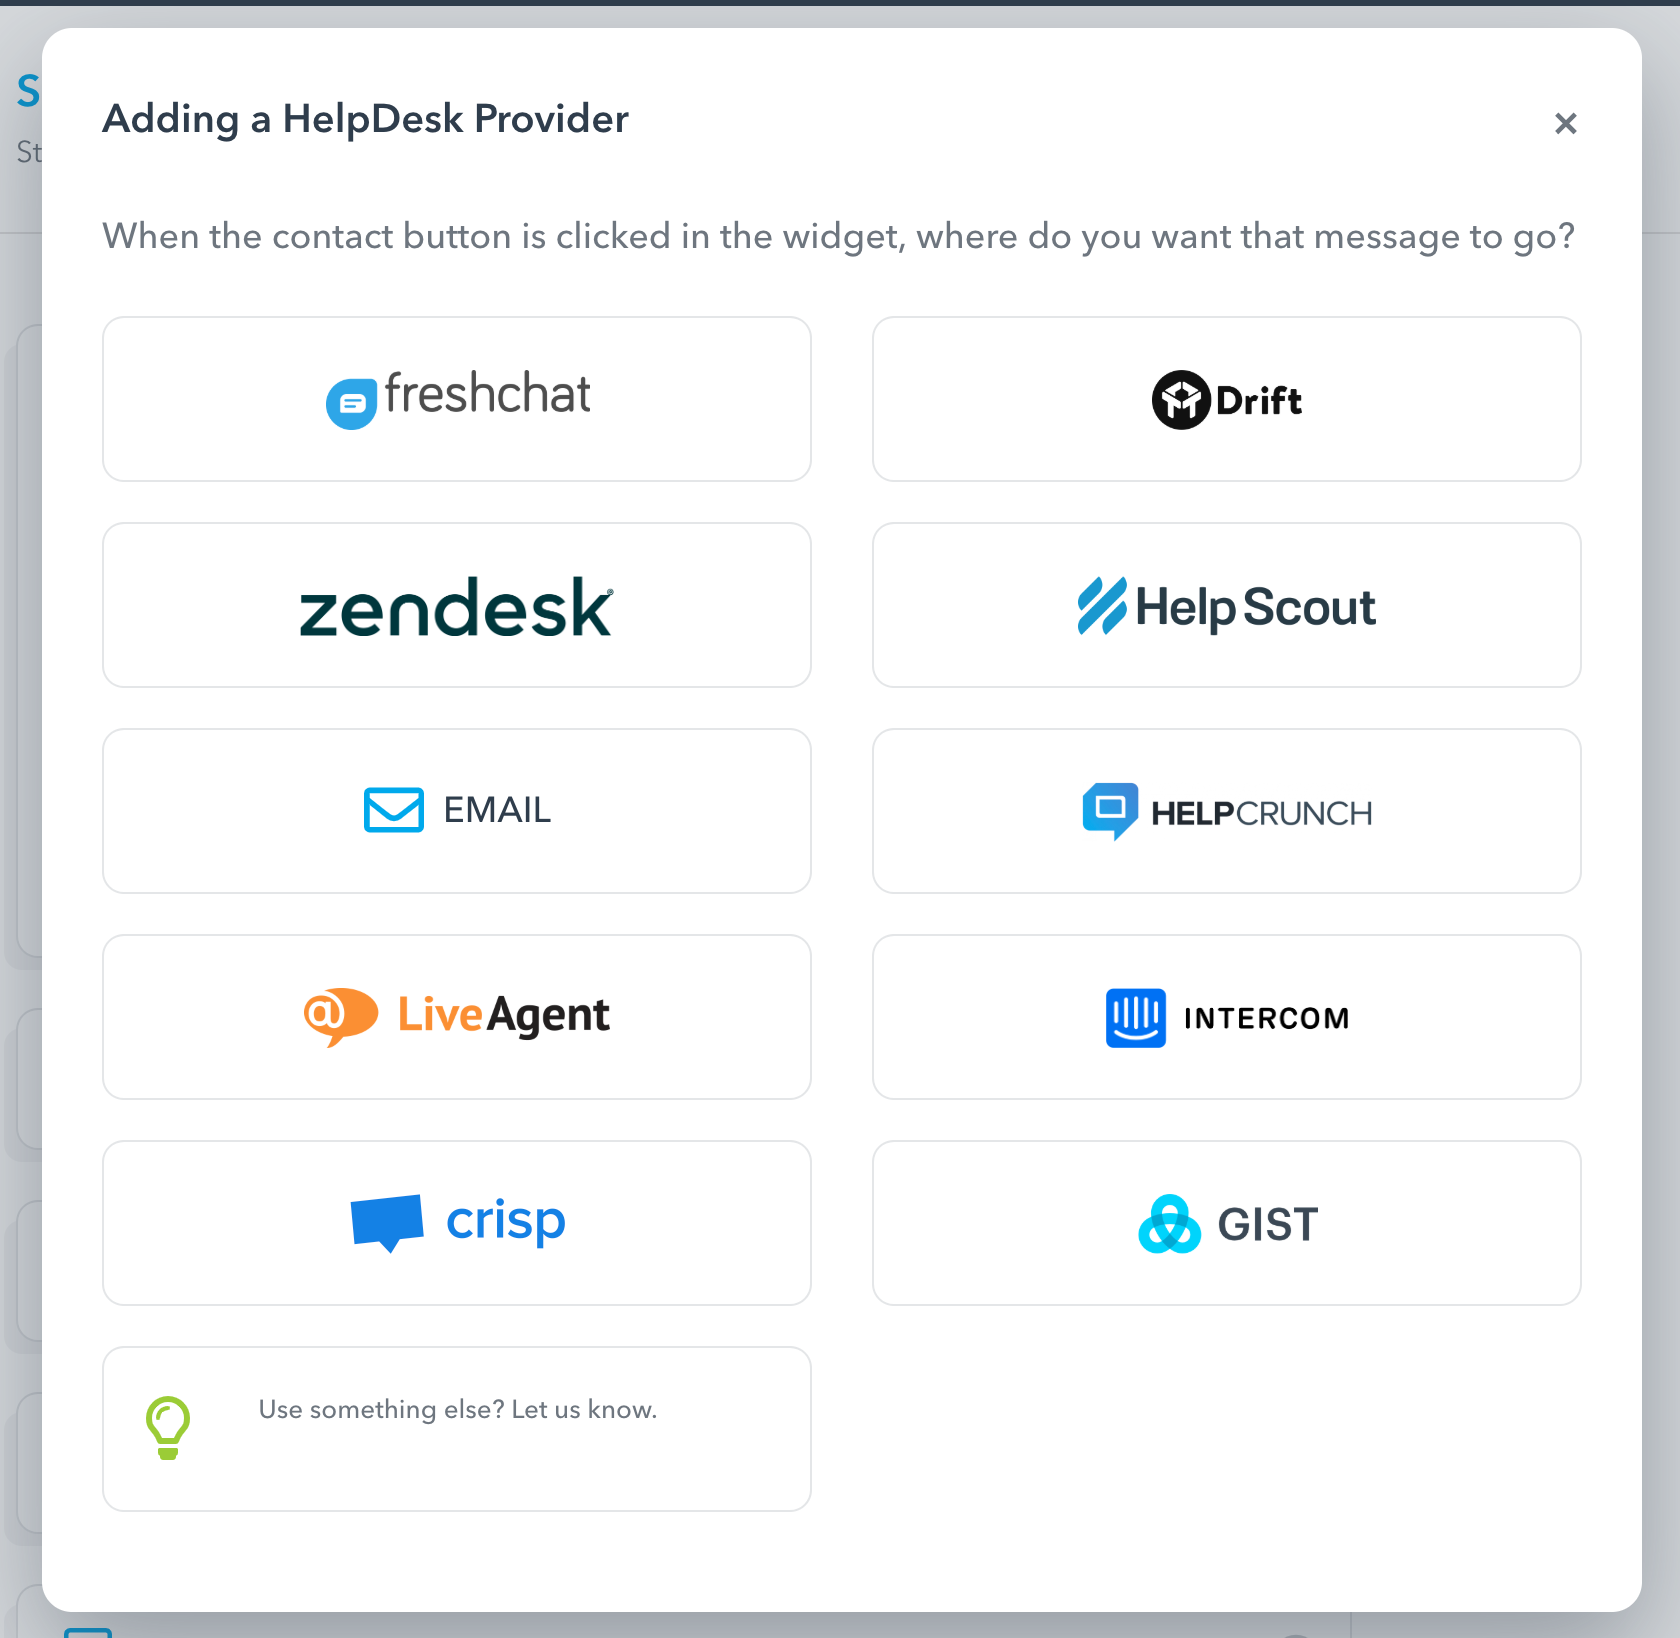
Depending on the provider you add, you may be asked for some additional information (such as an App ID, key or URL).
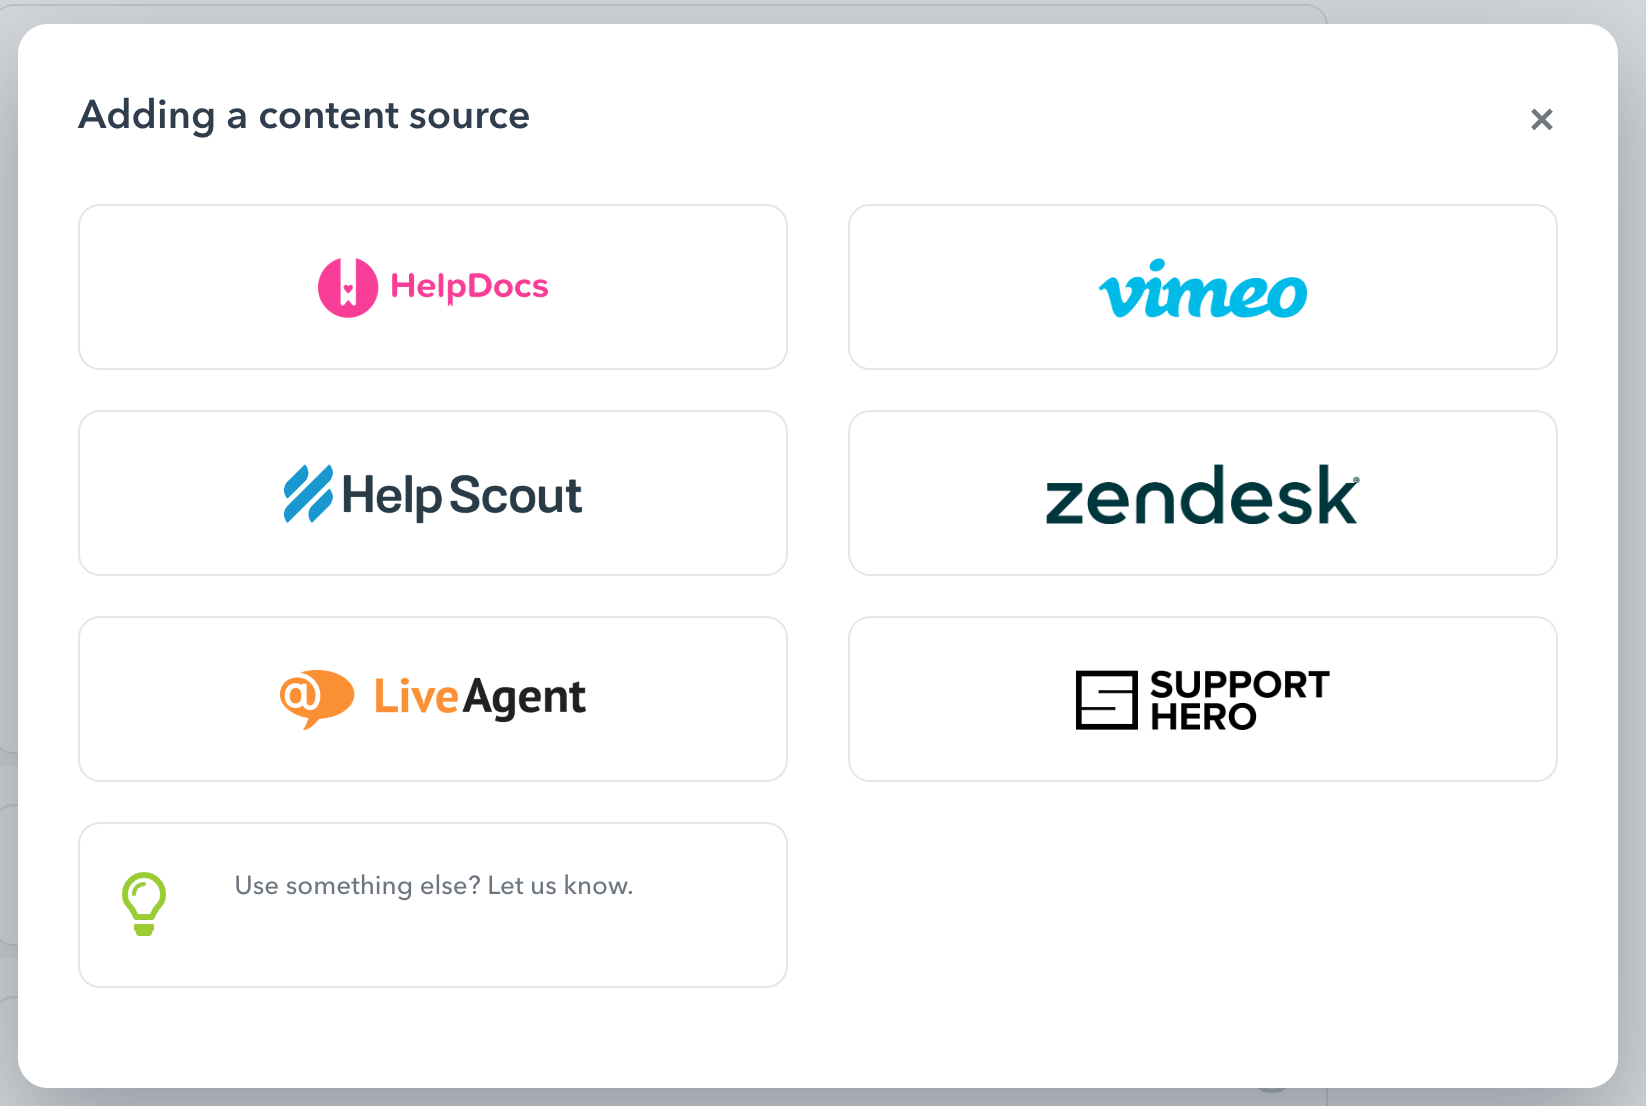
2. Where does your product content live?
It's quite common for your product content to exist across multiple channels. For example, you might have user guides hosted on Intercom, tutorial videos on YouTube and blog posts explaining new features. Getting that content in-front of your users can make the difference between them finding the help they need and not.
Choose your content sources by pressing the Add Content Source button and we'll pull them into your HelpShelf widget. Just like adding a helpdesk provider (in the step above), here you'll also have the option to choose from one of our available content providers.
3. Do you have a public roadmap?
Providing a roadmap is a great way to show your users what you're working on now and planning to work on next. With HelpShelf, simply select your Roadmap provider and we'll add it to your HelpShelf widget.
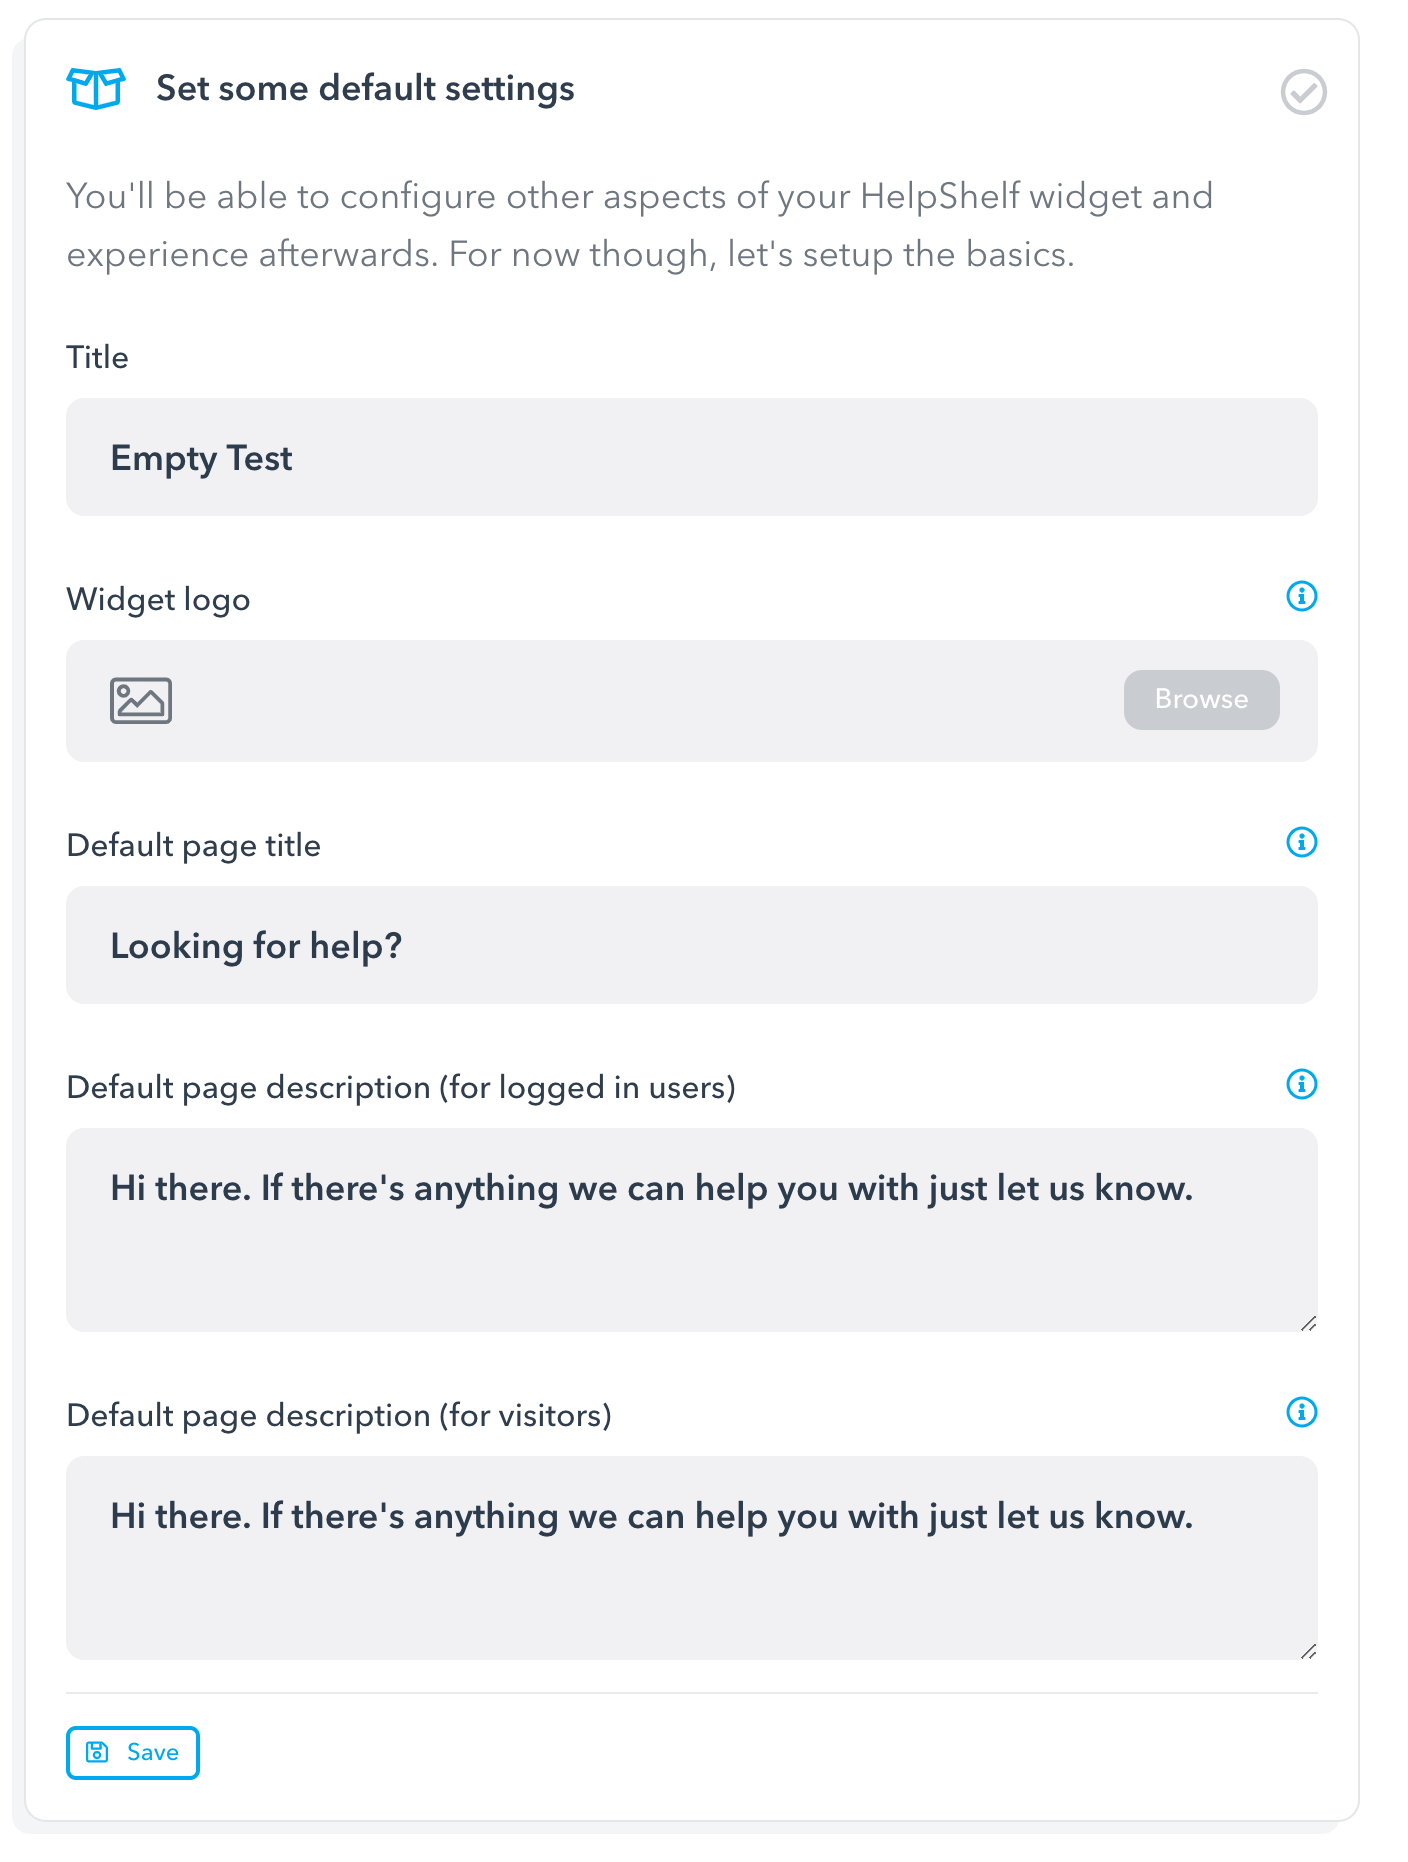
4. Set some default settings
You'll be able to configure other aspects of your HelpShelf widget and experience afterwards. For now though, let's setup the basics. You can provide your logo and the default welcome message you would like to have displayed when users open your HelpShelf widget.
5. Install the widget
To finish the setup, you need to install the widget onto your site. For instructions on how to install the widget, please head to our dedicated support page.